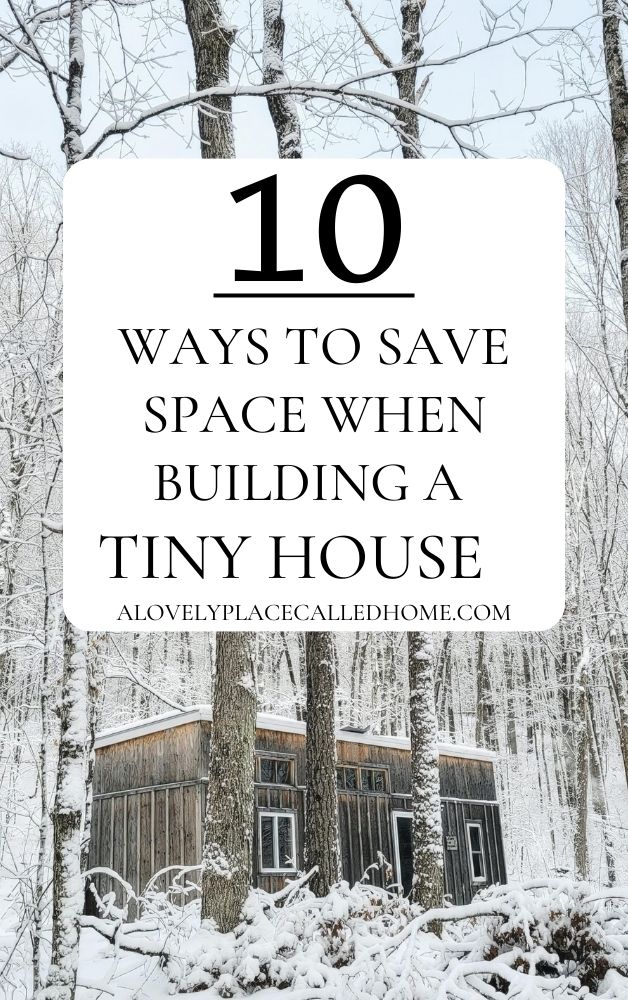
I spent a lot of time figuring out ways to save space in our tiny house on wheels when I was designing it and building it, and I wanted to share them with you below!

THE STORY BEHIND OUR TINY HOUSE
We built our tiny house on wheels in 2016 when tiny houses were just starting to emerge and become popular. There were no TV shows that I knew of, just a few YouTube channels that I loved watching. But something in me wanted to build one. The fact that I could build a home, and move it where ever I went just sounded like a smart decision to jump into.. and jump we did.
Pretty much everyone called us crazy. No one seemed to understand why we would do it. People laughed, people assumed things, people doubted. But we kept building.
And once it was done we moved into it with a two year old and a newborn!
We lived in our tiny house on my parents property while we saved u to buy a “real” house. (You might be wondering why we did that, well, we love real estate and the market was soooo low, the only way to go with it was up)
We eventually bought a little old farmhouse on a plot of land and renovated it while we small scale homesteaded.
After small scale homesteading on our old farmhouse, we sold in the high market and bought our gorgeous property that we currently live on, in our little tiny house on wheels with our family of 6.
WAYS TO SAVE SPACE IN A TINY HOUSE
Below are ways that we saved space in our tiny house on wheels during the design phase BUT these would also work if you’re building a cabin, mother in law suite , or renovating a tiny apartment!
1: BASEBOARDS
When I say baseboards, I mean the lack of them in our tiny house! We chose to omit the baseboards so that our furniture could butt up against the wall. I know that might sound like such a tiny little difference, but in a house this tiny, every inch counts!
Since we did this we did have to make sure we cut our walls clean and even since we knew you’d be able to see everything. It wasn’t a huge deal, just something to consider as we built. We also had to be careful when we painted the walls and when we stained the floor that we did a good job.

2: TALLER BOTTOM CABINETRY
We custom built our kitchen cabinets for many reasons. And because of this, we had the option to make the cabinets taller than average. That in turn gave us more storage room within the cabinetry area.

Above is a picture of the behind the scenes building process for the kitchen cabinets!
3: COUNTER TOP
Another way we saved space is by custom building our countertop.
We shaved a couple of inches off of the counter depth to allow for more walking space in the kitchen area. Although this does eliminate some counter space, I’m still so glad we chose to do this because the kitchen area is quite large for such a narrow tiny house!
4: FLOORING
How can you save when designing tiny house floors?
With our design we saved in several aspects, including:
- money
- time
- weight
- interior room height
So what did we do?
It’s not mind blowing let me tell you, but to this day I’m still so glad we did it!
Instead of laying a subfloor over the floor framing and then laying a finished product on top, we instead used our subfloor as the main floor.
Doing this saved us money cause we didn’t have to buy flooring, and it saved the time we would’ve spent getting the flooring and installing it. It also saved a ton of weight from being added to the tiny house (you know if you’re designing a tiny house on wheels that you wanna try your best to be light and mobile) and it saved us an inch for interior room height. An inch might not seem like a lot, but every inch matters when you are working with a tiny space!

5: PLACEMENT OF OUTLETS/SWITCHES/LIGHTS
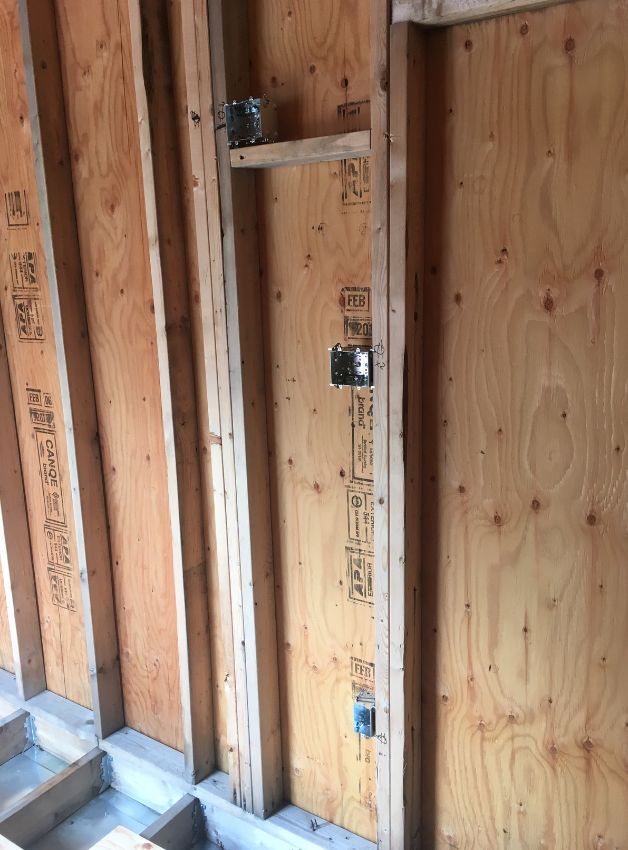
I planned for so long to make sure I was placing the fixtures and outlets in the right spots! And to be honest, there are some things I do regret doing.
Take extra care when you place these things, since they are definitely one of the more harder things to move later on.
Planning this correctly can save you so much space, since light fixtures need room, and you can’t place furniture in front of your outlets so you eed to make sure they’re in the best suited spot!

I walked around the tiny house many times starring at all of the outlet boxes before we ran the wiring. I wanted to be sure it would work efficiently.
6: ROOF ANGLE
Designing the ceiling and roof took me a while. I knew I didn’t want an angled interior ceiling.
One reason was because I wanted the interior space, another reason was that I wanted all of the exterior walls to be framed easily (so no angles and slopes).
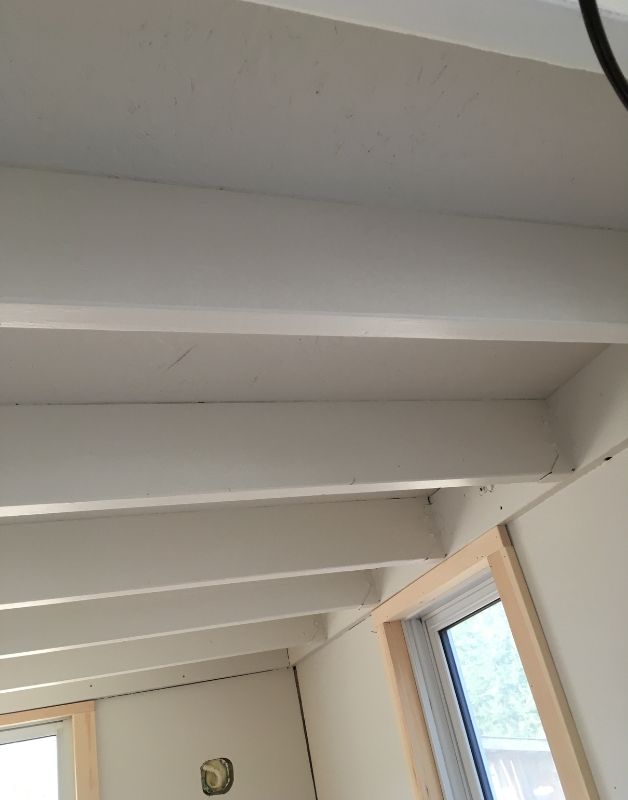
After much consideration and factoring in the snow load that our roof would take, we decided to cut the roof rafters on an angle… let me try my best to explain LOL ;
We took 2×12 rafter boards and cut them on an angle so that the side that would get the roofing attached was angled, and the side that would face the interior stayed flat. The pitch of our roof is very minimal, enough to shed rain. And the integrity of the roof is still intact since the shortest side of the rafter boards is still 6 inches.
For the builders out there; our roof is a .75/12. (3/4″ over 12″)

Above is picture of the rafters after we cut the angle into them.
7: 2 LOFTS
We saved space when we built the tiny house by designing it tall enough for two lofts. One loft has always been storage while we lived here, and other has been several things; sometimes a playroom, a bedroom for us or a bedroom for the kids.
We love being able to throw things up into the storage loft when we need it off the main floor! Tiny houses get crammed pretty easily so having a place to put “stuff” is crucial.
8: NO ACCESS TO STORAGE LOFT
There is no access to the storage loft besides us climbing up some makeshift way. We just didn’t see the need to design a ladder or stair system for a loft that we would barely we using- so we didn’t.
When we don’t live in the tiny house anymore I have plans to add a ladder that when not in use, will hang on a hook on the wall. That way there is access to whatever we turn it into once we aren’t in here full time!
9: OPEN RAFTERS
We kept both of the loft rafters exposed. This gives us room to hang string lights, make little bookshelf nooks, and it just makes the space feel more open!

10: DOORS THAT SWING OUT/SLIDE
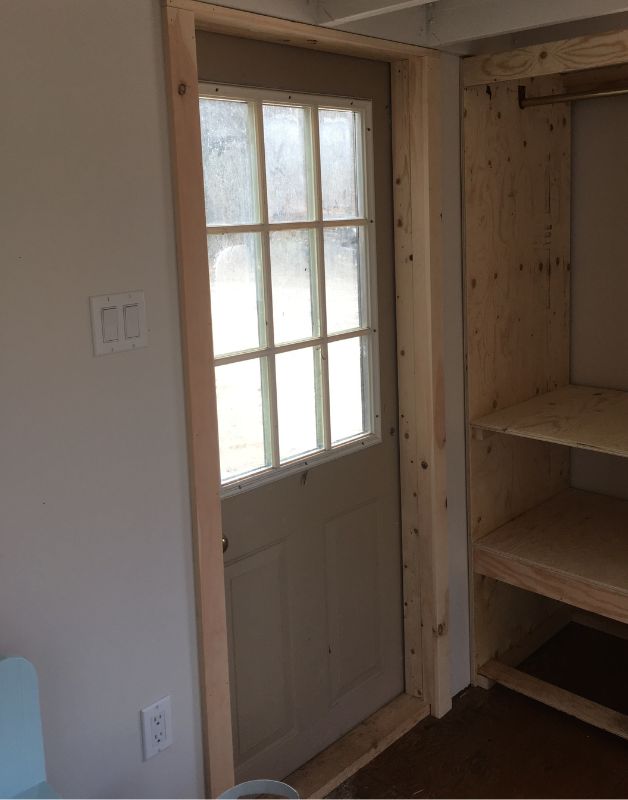
Our man door on the exterior was installed to swing outwards, not in. We also have another exterior door that is sliding, and our interior door for the bathroom is sliding as well. The main floor bedroom has never had a door on it but when we do put a door I’ll have to get creative because I don’t want a conventional bedroom door that’s for sure!

This is our man door. Not the prettiest thing (it was free so how could I not use it LOL)
I hope these space saving tips will help you in your design and building of your tiny house on wheels!
Other posts you might like about my tiny house:
How To Choose The Best Interior Walls For Your Tiny House
How To Build The Interior Of A Tiny House On Wheels
Nice blog you have here. This post was particularly enjoyable to read. Keep up the great work!