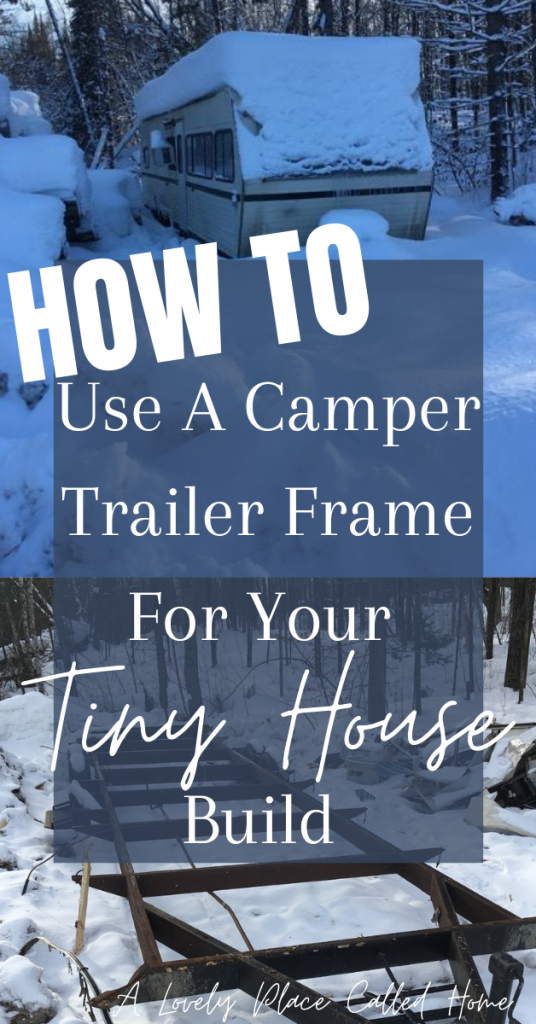
Welcome to part 1 of the series Building A Tiny House Yourself. Covering the basics on how to use a camper trailer frame for your tiny house build.
Months of planning, purging, and endless hours on Pinterest have led to us finally take a huge first step- purchasing the camper trailer that will be the frame for our tiny house!
We chose to use a camper trailer frame for a few reasons:
- It’s hard to find used flat deck trailers that are 30 feet long in our area
- Flat decks are very expensive when you have a budget as small as ours
- Building a frame from scratch was out of the question
What to look for when buying a frame for your THOW
There are several things to keep in mind when buying a used camper trailer frame for your THOW (Tiny House On Wheels)
- Axle rating. Make sure the axles on the trailer you want to buy are rated for the weight you will be putting on them. If the axles aren’t able to carry your load, they could break OR you could receive a hefty fine from the MTO. You can check the axle rating by either the VIN plate on the frame, a tag on the axles, or you can measure the axles yourself to find out. (google how to go about that. It’s tricky to explain).
- Thoroughly inspect the frame for cracks, holes, and bends in the metal. Although some things can be fixed, most of the time it’s better to steer clear of these problems.
- Make sure the trailer has its ownership certificate! Without this, your trailer cannot legally be on the road. You can file for a new ownership if you don’t have one but it is challenging and sometimes impossible.
- The frame must be able to hold your house. This one is tricky and you will need to do your research if you’re not familiar with metal. Some trailer frames are made with smaller pieces of metal, so building an 8,000 lb to 15,000 lb home on top would surely fail. But I did find throughout my research that the trailers with bigger axles (and those with multiple axles) had larger frames. But this is not always the case, so do your research.
We bought our camper trailer off of the internet for $900. It had dual axles, each rated for 5200 lb. SCORE!
After You Buy Your Frame
Start stripping the camper down. Save everything you think you can use!
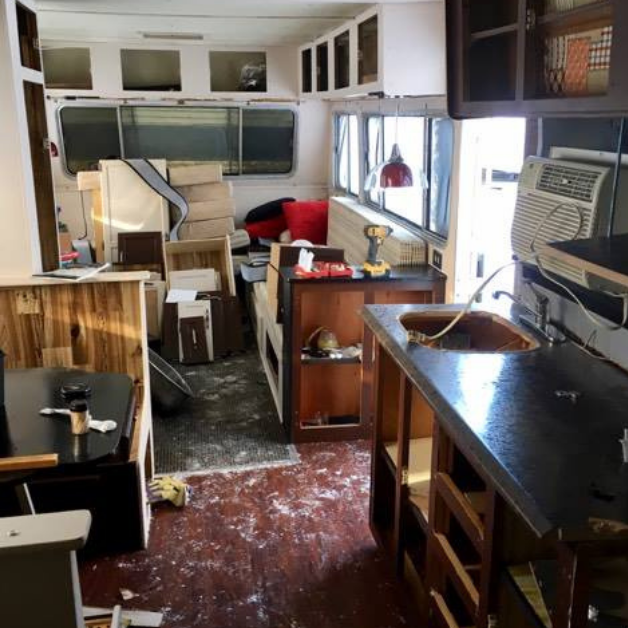
Light fixtures, toilet (I know that’s gross but camper toilets are an easy resell), cushions, cabinet doors, and anything else you think you can use or sell fast should be removed and stored somewhere safe. Its surprising the amount of things you can sell from an old camper, there’s always someone looking to buy!
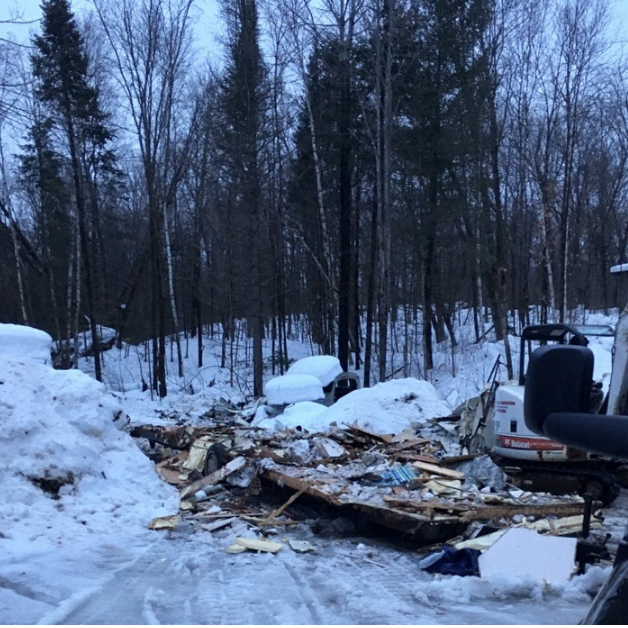
Sort out the metal and wires so you can get a return at the scrap yard (bonus money!!)
Haul the rest to the dump/recycling centre. If your camper is quite large like ours is then expect to take several trips to the landfill. It is sad that so much garbage is made in this process, but a lot of camper trailers can’t be recycled very well.
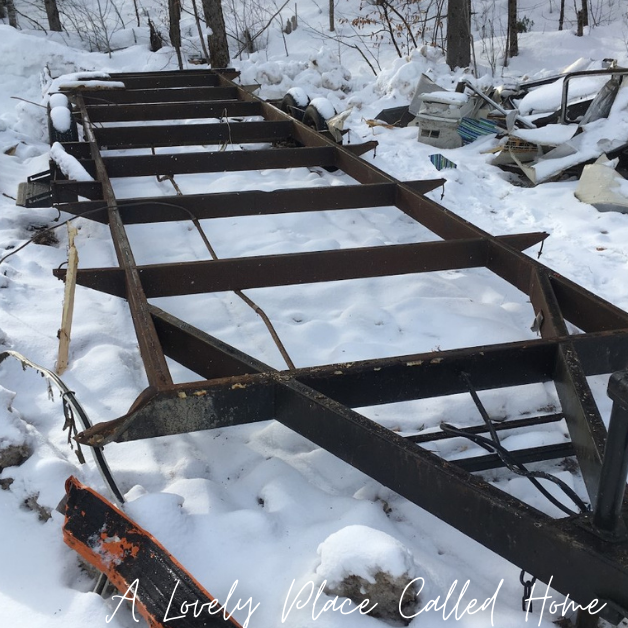
Once you have everything off of the frame you can choose to have the wiring installed (if it wasn’t working) or you can leave it until later.
Another thing you can choose to do is seal your entire frame in a rust preventative coating. DOM16 is a brand one we use often. We didn’t do this for our tiny house frame because we won’t be travelling on the highways very often. But if you will be travelling with yours I highly recommend doing this part. (It also makes the frame look really nice!)
That’s it. Your ready to start prep for building.
Stay tuned for Part 2 when we talk about building and securing a floor onto your frame!

Before you go!
I make a lot of free printables available for the general reader. BUT if you would like access to my free members only hub and newsletter, please put your email into the box below to receive the password!
The hub is a password protected place where all of my created content lives, including printables, checklists, e-books, instruction manuals and more! Also, you will receive one monthly newsletter to let you know about all of the new content I have created that month!
I would love to have you be apart of the members hub
How To Use A Camper Trailer Frame For Your Tiny House Build
Don’t forget to follow me on instagram! @alovelyplacecalledhome
Another popular post I have is: How To Build The Interior Of A Tiny house On Wheels


Great tips, thank you! I sent your link to my husband and pinned it to our house board, because we may do this in future.
It is so incredibly rewarding to build your own house, even if it is tiny. it grows you as a person and as a team if you do it with a loved one!
What a fun build! We have a Class C RV and totally want to redo the interior. This is amazing. I cannot wait to see the fruits of your labor!
thankyou so much! if you do reno your rv post pics!!
Thank you so much for sharing. Very detailed & informative!
Great tips for how to recoop some of the money spent on the trailer by selling and salvaging usable items! Inspiring post.
I like part one so far. Looking forward to reading part 2. I have an old 1977 AYR-WAY I want to perform this task.
Hey part two is over on the blog under the tiny house section! There are more as well!
I dont want it to move. I wanna do it so it stays on property. I was wondering what kind of money and help I would need. I can do alot of the work. Would just need help with some. I need a place so I can adopt my grand children. I have adopted one already but want the sisters too. To bad there wasn’t a list of volunteers to help. Lol
you need to check the bylaws in your area for building a stationary building on your property since many places have laws regarding this. Also budget depends on what youd like to hire out and the sources youre able to lean into for the build 🙂 i wish there were more people willing to help wth this type of thing too! tiny homes are an amazing asset!