Welcome to part #4 of the series; how to build a tiny house yourself! In this post How To Choose The Best Tiny House Interior Walls, we’ll look at different methods and material used for tiny house building as well as how we installed our final product for our tiny house walls!
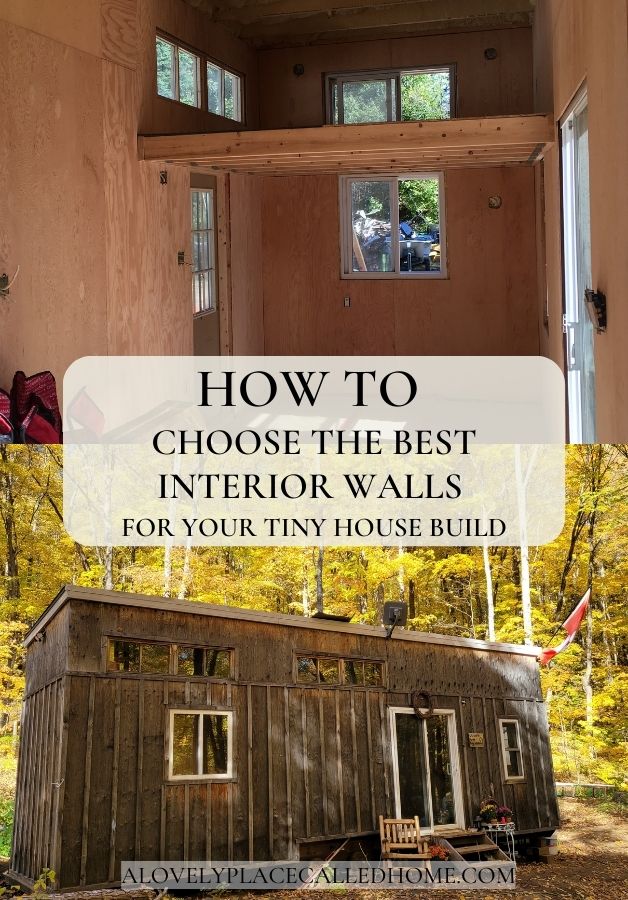
How to choose the best tiny house Interior walls is something I stressed about for a while leading up to our final decision.
There are so many options out there that you can choose from! And pinterest is loaded with inspiration. But as I researched I realized there are many things you need to consider in order to make the right decision for your build.
Below I will walk you through the things you should ask yourself when deciding on the best interior walls, products to avoid, and finally which option we chose and how we installed it.
(Spoiler, I’m confident we made the best decision. 7 years later and our interior walls are still as amazing as ever!)
What type of interior wall should you use for your tiny house?
This question really boils down to what type of tiny house you’re building. For instance, if your tiny house is stationary you have the freedom to choose virtually anything you want as long as it fits your budget.
On the contrary, if your tiny house is mobile, you’re quite limited and have to be very mindful of the types of material you choose.
Either way, you want to keep these things in mind when choosing the best interior walls for your tiny house build;
- cost
- installation process
- space requirement
- durability
Products to avoid
If your tiny house is mobile you should avoid these products;
- tile
- drywall
- stucco
- stone
- hardwood boards
- thin sheets of plywood
The reason I’ve listed these items on the do not use list for mobile tiny homes is because they’ll prove to be faulty OR they’re too heavy.
Also, for some products the installation process is long and has multiple steps.
Materials like tile, drywall, and stucco are prone to cracking as the tiny house shifts while in transit. They are also heavy and the installation process is lengthy.
Even if you only plan to move your tiny house a few times, I would avoid these products because the risk is high as well as the hassle of installation.
Materials like stone and hardwood will be extremely heavy and could compromise your trailers weight rating limit. Also, stone would not only be heavy but it would also pose the same problems as tile; where it risks cracking and falling away from the mortar.
Material like thin plywood may sound appealing to you because its space saving, lightweight and cheaper. But you should avoid using it on your walls.
Thin plywood (under 3/8 in. thick), is very susceptible to warping and waving after its been installed. If you’re unsure of what that means, it’s when the plywood doesn’t lay flat like it should, and instead looks like it’s coming away from the wall in all different places, only staying secured where the nails are holding it to the studs.
This is caused by moisture and heat penetrating the wood, causing it to expand in different places. Thicker plywood is much less likely to do this (if at all).
Best products for mobile tiny house walls
The top interior walls most tiny house owners use are;
- sheeting (plywood)
- shiplap boards
- tongue and groove boards
I would recommend all of these, just remember shiplap and tongue and groove use a thicker wood which equals more space and more weight.
Also, although plywood is more cost effective and thinner, most people don’t like the look of unfinished plywood so you would need to add on the cost and time to finish it with paint, stain, wash, etc.
What we decided to use
Drumroll please!!!
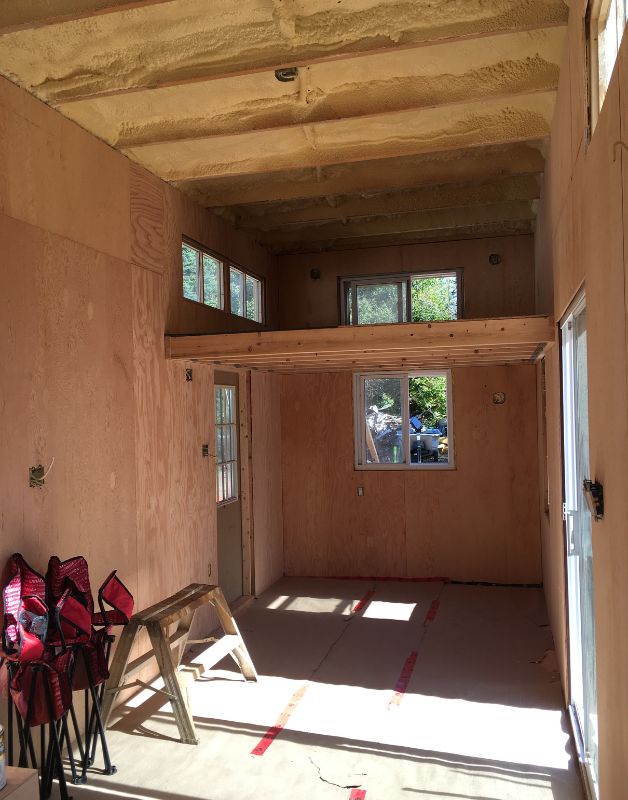
After analyzing all of the options and factors we decided to go with 3/8 thick Douglas Fir plywood as our interior wall panelling. Check it out!
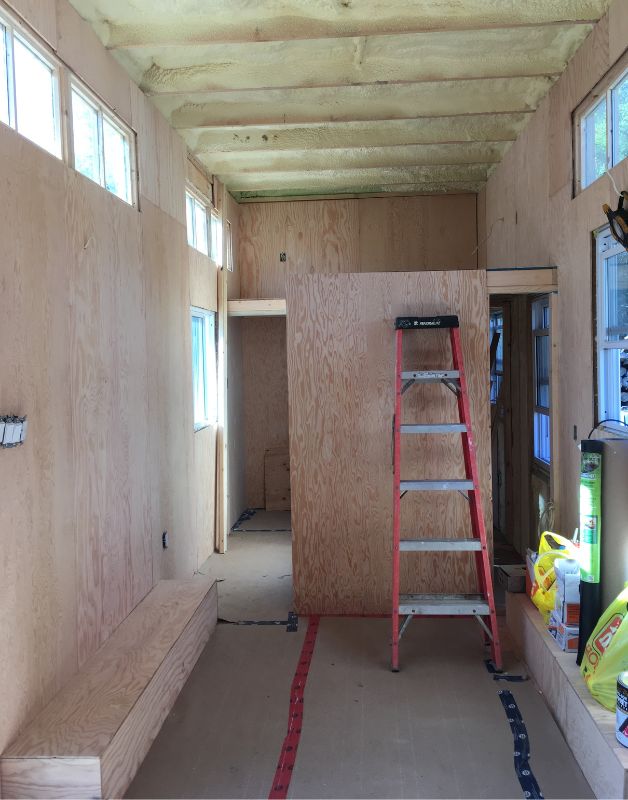
The sheets are thin enough to save space and weight, but thick enough to remain sturdy. If we want to tap into them to hang a picture or something, its thick enough to hold the screw or nail in place.
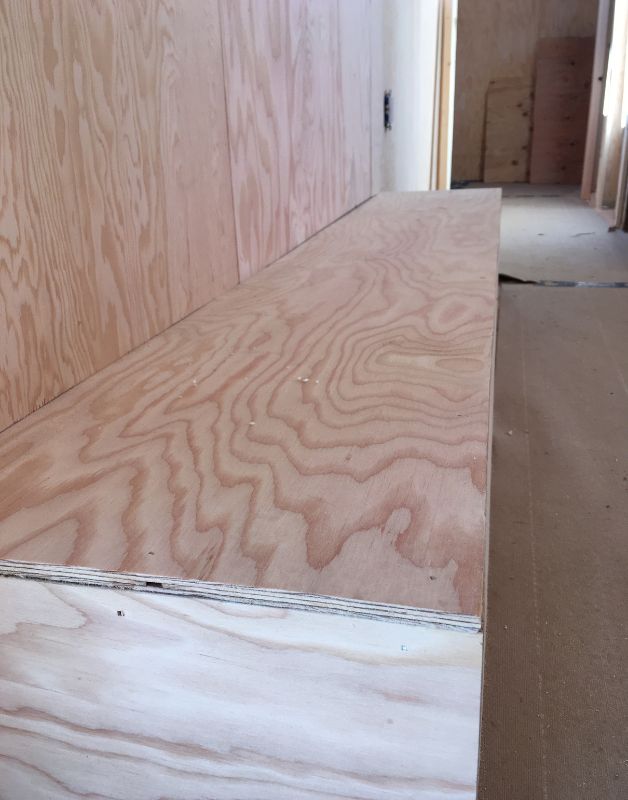
You can visualize the 3/8 thickness better in this close up picture. Its thin, but not too thin. After 7 years we have no regrets, these walls are the best!
Installation process
Because it’s a tiny space, it did take a long time to install. That might sound really confusing but here’s why;
Every single piece that was installed had to be cut for some reason or another. Whether it be a light switch, outlet, light box, window, door, tire cover box, loft… the list goes on. It was very time consuming to make sure everything was measured correctly before making cuts. Then once a piece was cut we had to test fit it and sometimes take it back into the shop to be adjusted.
Another thing that slowed us down a bit was my request to skip the trim along the floors. That meant the cut made that would normally be hidden by trim, would be exposed. So it had to be a nice cut.
Adding trim along floors makes a huge impact on a tiny space and I didn’t want to lose those few inches that trim would take up.
Securing the sheeting
We secured the sheets to the framing with glue and a trim nailer. We used glue because the plywood is still pretty thin and we didn’t want to risk it warping over time.
Lastly, we skipped filling in the cracks between the sheets and the nail holes with wood filler. I figured once it was painted you’d barely be able to notice them anyway. Plus I knew the glue would just crack once things dried more and shifted. It was a major time saver not having to focus on those details!
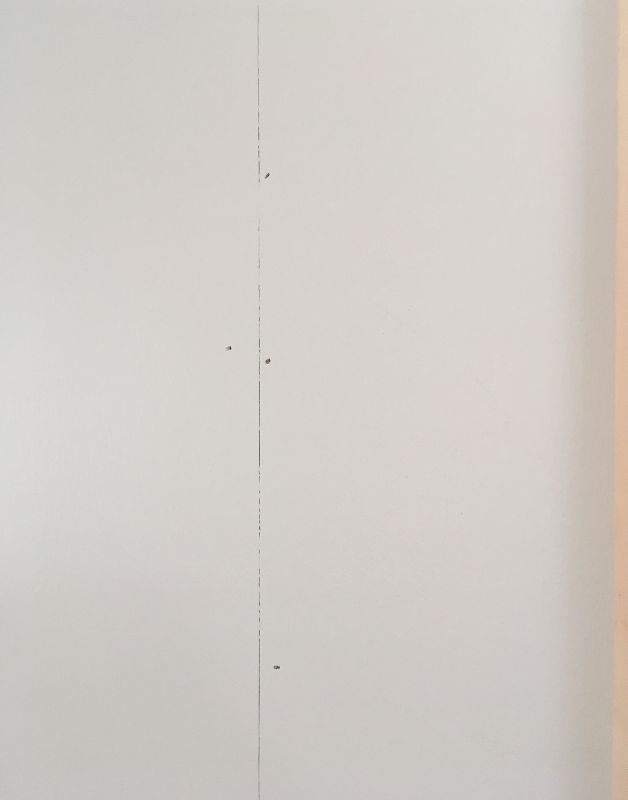
Here is a picture of the seams after painting was complete.
Painting wood paneling
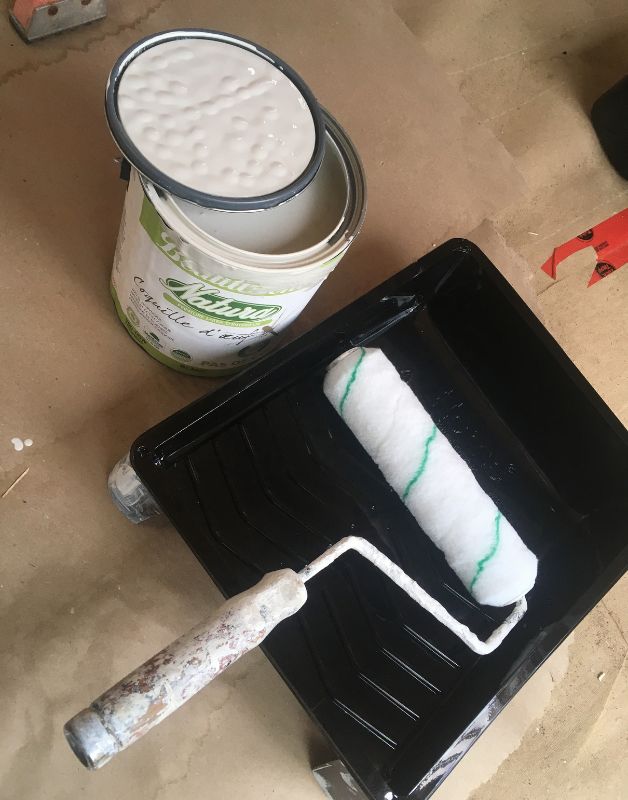
The paint I used was Natura, with an Eggshell finish. This paint is a Beauty Tone line and is much safer to use.
The primer was also Beauty Tone and was a high hide grade, which helped the process since painting wood can be very tedious and expensive since it soaks up the paint so much! High hide is thicker so it applied easily and quickly without much soaking in.
Below are some pictures of the finished walls. It’s hard to capture the true colour. But basically it’s a very light cream colour that isn’t far off from white called Featherstone from Beauty Tone.

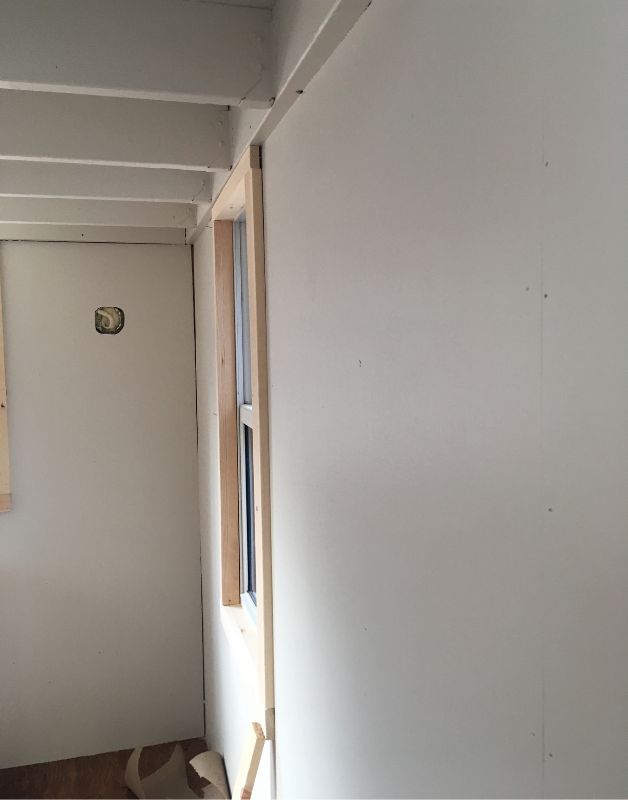
The great thing is at night when you turn on the lights, the walls have a calm warming glow to them.
If you’d like to see my previous posts in this series they are listed below:
1: How To Use A Camper Trailer Frame For Your Tiny House Build
2: How To Build A Tiny House Floor Onto A Camper Trailer Frame
3: How To Frame A Tiny House On Wheels
4: How To Build The Interior Of A Tiny house On Wheels
Before you go!
Join my members only hub and newsletter!
You can also follow me on Instagram and Pinterest!
You’ll get access to my members only hub with free printables, e-books, checklists and more. And receive a monthly newsletter to let you know what has been happening on the blog that month!
To get your password sign up below!
How To Choose The Best Tiny house Interior walls


Leave a Reply